
When homeowners start a new flooring project, they generally focus on the finished flooring product. However, they don’t see all the work that goes on behind the scenes. The prep, planning, and small details make the difference between a floor that looks good for a year and one that lasts for many.
That’s why we’re going to walk you through one of our recent projects. From self-leveling the subfloor to installing 100% waterproof laminate, resetting bathrooms, and finishing with clean transitions, this was a full start-to-finish installation done right.
Let’s jump into the project and break it down step by step!
Table of Contents
ToggleStep 1: Starting at the Subfloor (Why Prep Matters)
Every successful flooring project begins beneath the surface. In this home, the subfloor wasn’t perfectly level, which is more common than homeowners realize.
Before any flooring went down, the entire floor was self-leveled. The process creates a flat, stable surface that lets finished flooring sit correctly and perform as it should.
Skipping this step can result in:
- Uneven planks
- Movement or flexing underfoot
- Premature wear
- Gaps or separation over time
Self-leveling for your floors isn’t the most visible part of a project. However, it is the most important. This step shouldn’t be skipped or rushed.
Step 2: Flooring Selection, Why Waterproof Laminate Was Chosen
After the subfloor prep, our flooring team returned to install the floor. For this project, it was Odyssey Calypso laminate.
This laminate is actually 100% waterproof. It’s great for homes that need durability without sacrificing appearance.
For homeowners, this means:
- Better performance in moisture-prone areas
- Peace of mind with spills or everyday messes
- A durable surface that holds up to real life
Waterproof laminate is perfect for busy homes that need floors to handle traffic, cleaning and occasional moisture without worry.
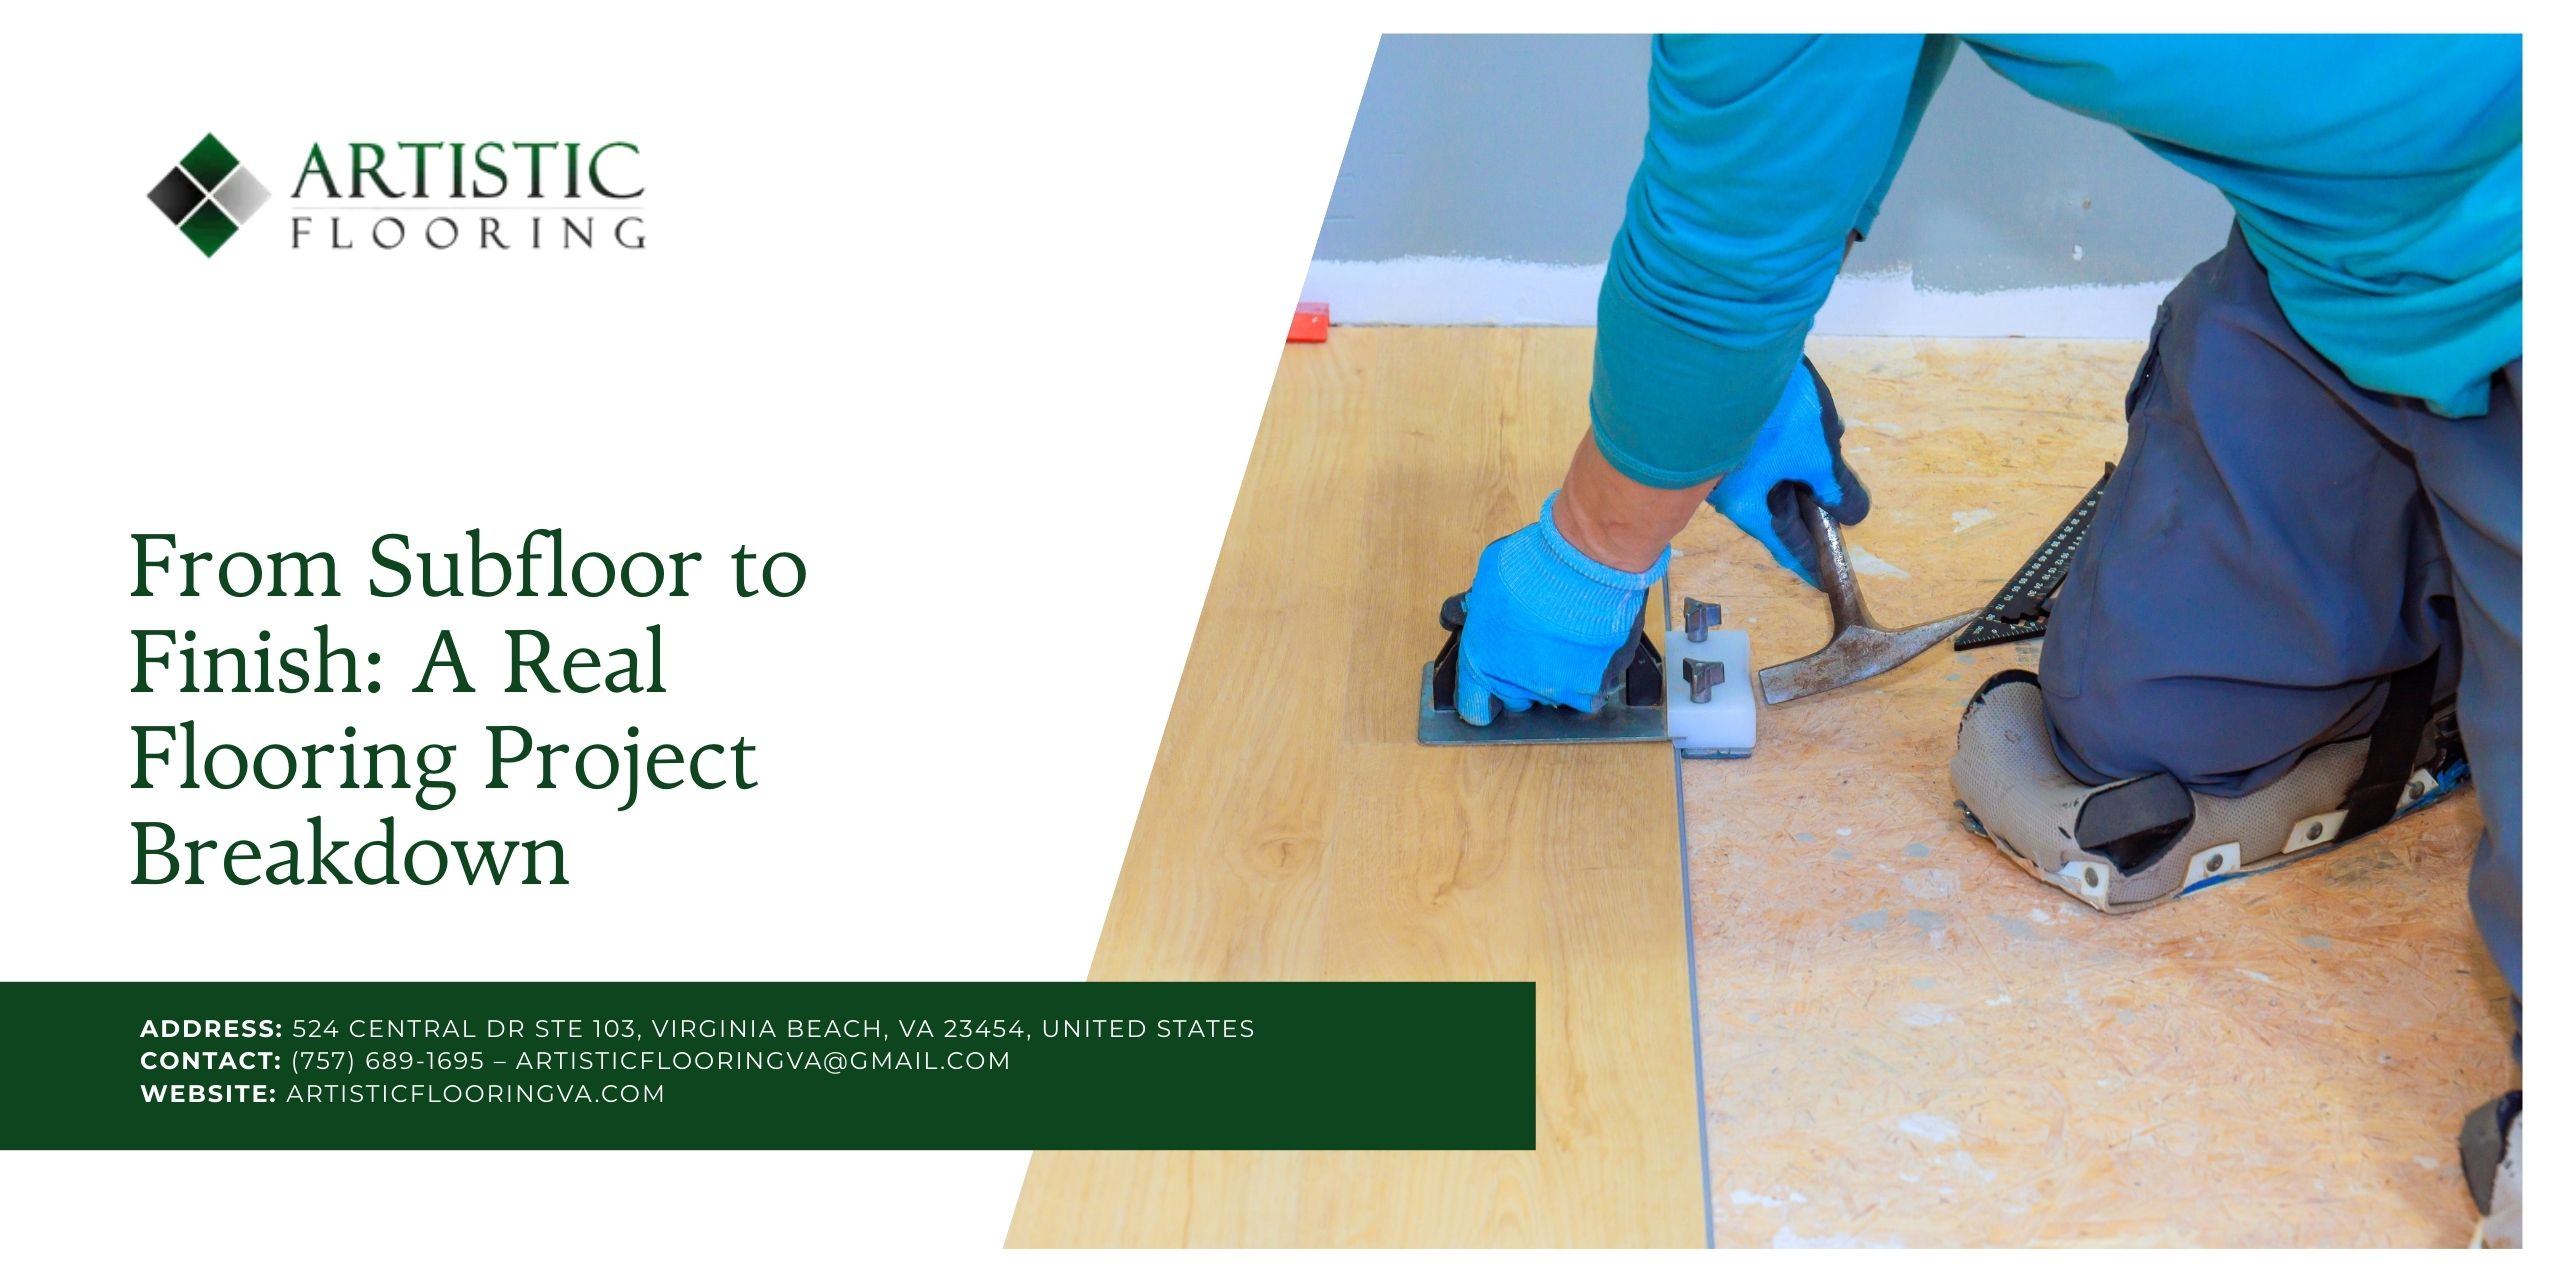
Step 3: Installation Process, Doing It in the Right Order
After the subfloor was leveled and cured, our team of professional installers came back to install the laminate flooring. Proper sequencing matters. Prep is first and installation is second.
Taking this approach ensures:
- The flooring locks together correctly
- The surface remains even across rooms
- The finished floor feels solid underfoot
Rushing straight to installation without proper prep leads to callbacks and repairs. That’s why we followed a set process from the start.
Step 4: Bathroom Work, More Than Just Flooring
Since the project involved multiple bathrooms, it added another layer of complexity.
Rather than cutting around fixtures or taking shortcuts, the team:
- Removed vanities
- Reset the vanities after flooring installation
- Removed and reset the toilets
That extra work went a long way. It helped the floor run cleanly and correctly through the space, instead of being pieced together around obstacles.
This behind-the-scenes work isn’t something homeowners notice right away. However, it makes a big difference in how the floor looks and performs long-term.
Step 5: Transitions & Carpet Tucking, The Details That Matter
One of the standout details in this project was the transitions between flooring and carpeting.
Rather than simply running the carpet underneath the laminate, we tucked the carpet cleanly to the thresholds.
Here’s what approach does:
- Creates a cleaner, more finished look
- Prevents carpet edges from lifting over time
- Improves durability at doorways and transitions
Even these small craftsmanship choices separate a professional installation from a rushed one.
Step 6: Final Touches & Walkthrough
Even after all the major work was done, our team focused on finishing details, wrapping up small areas in the back, checking transitions and making sure everything was secure.
A flooring job isn’t finished when the planks go down. It’s finished when:
- Transitions are tight
- Fixtures are reset properly
- Everything looks intentional and complete
The final walkthrough is important to us and the homeowner. It ensures the floor performs well and looks great for years to come.
What Homeowners Can Learn From This Project
This project is a great example of what goes into installing new floors, including:
- Proper subfloor prep is non-negotiable
- Choosing the right material matters just as much as how it’s installed
- Bathrooms and fixtures should be handled correctly, not worked around
- Transitions and finishing details affect long-term durability
Cutting corners early almost always leads to problems down the road.
Why Professional Flooring Makes a Difference
From subfloor leveling to waterproof laminate installation, bathroom resets and clean transitions, this project showcases how we do flooring the right way. At Artistic Flooring, we install floors and solve problems before they become issues. Every step is handled with care and long-term performance in mind.
Want your flooring project to be done right? Contact us or visit our Virginia Beach showroom today!